Forest Armour
June 2025 – August 2025

Pattern Making
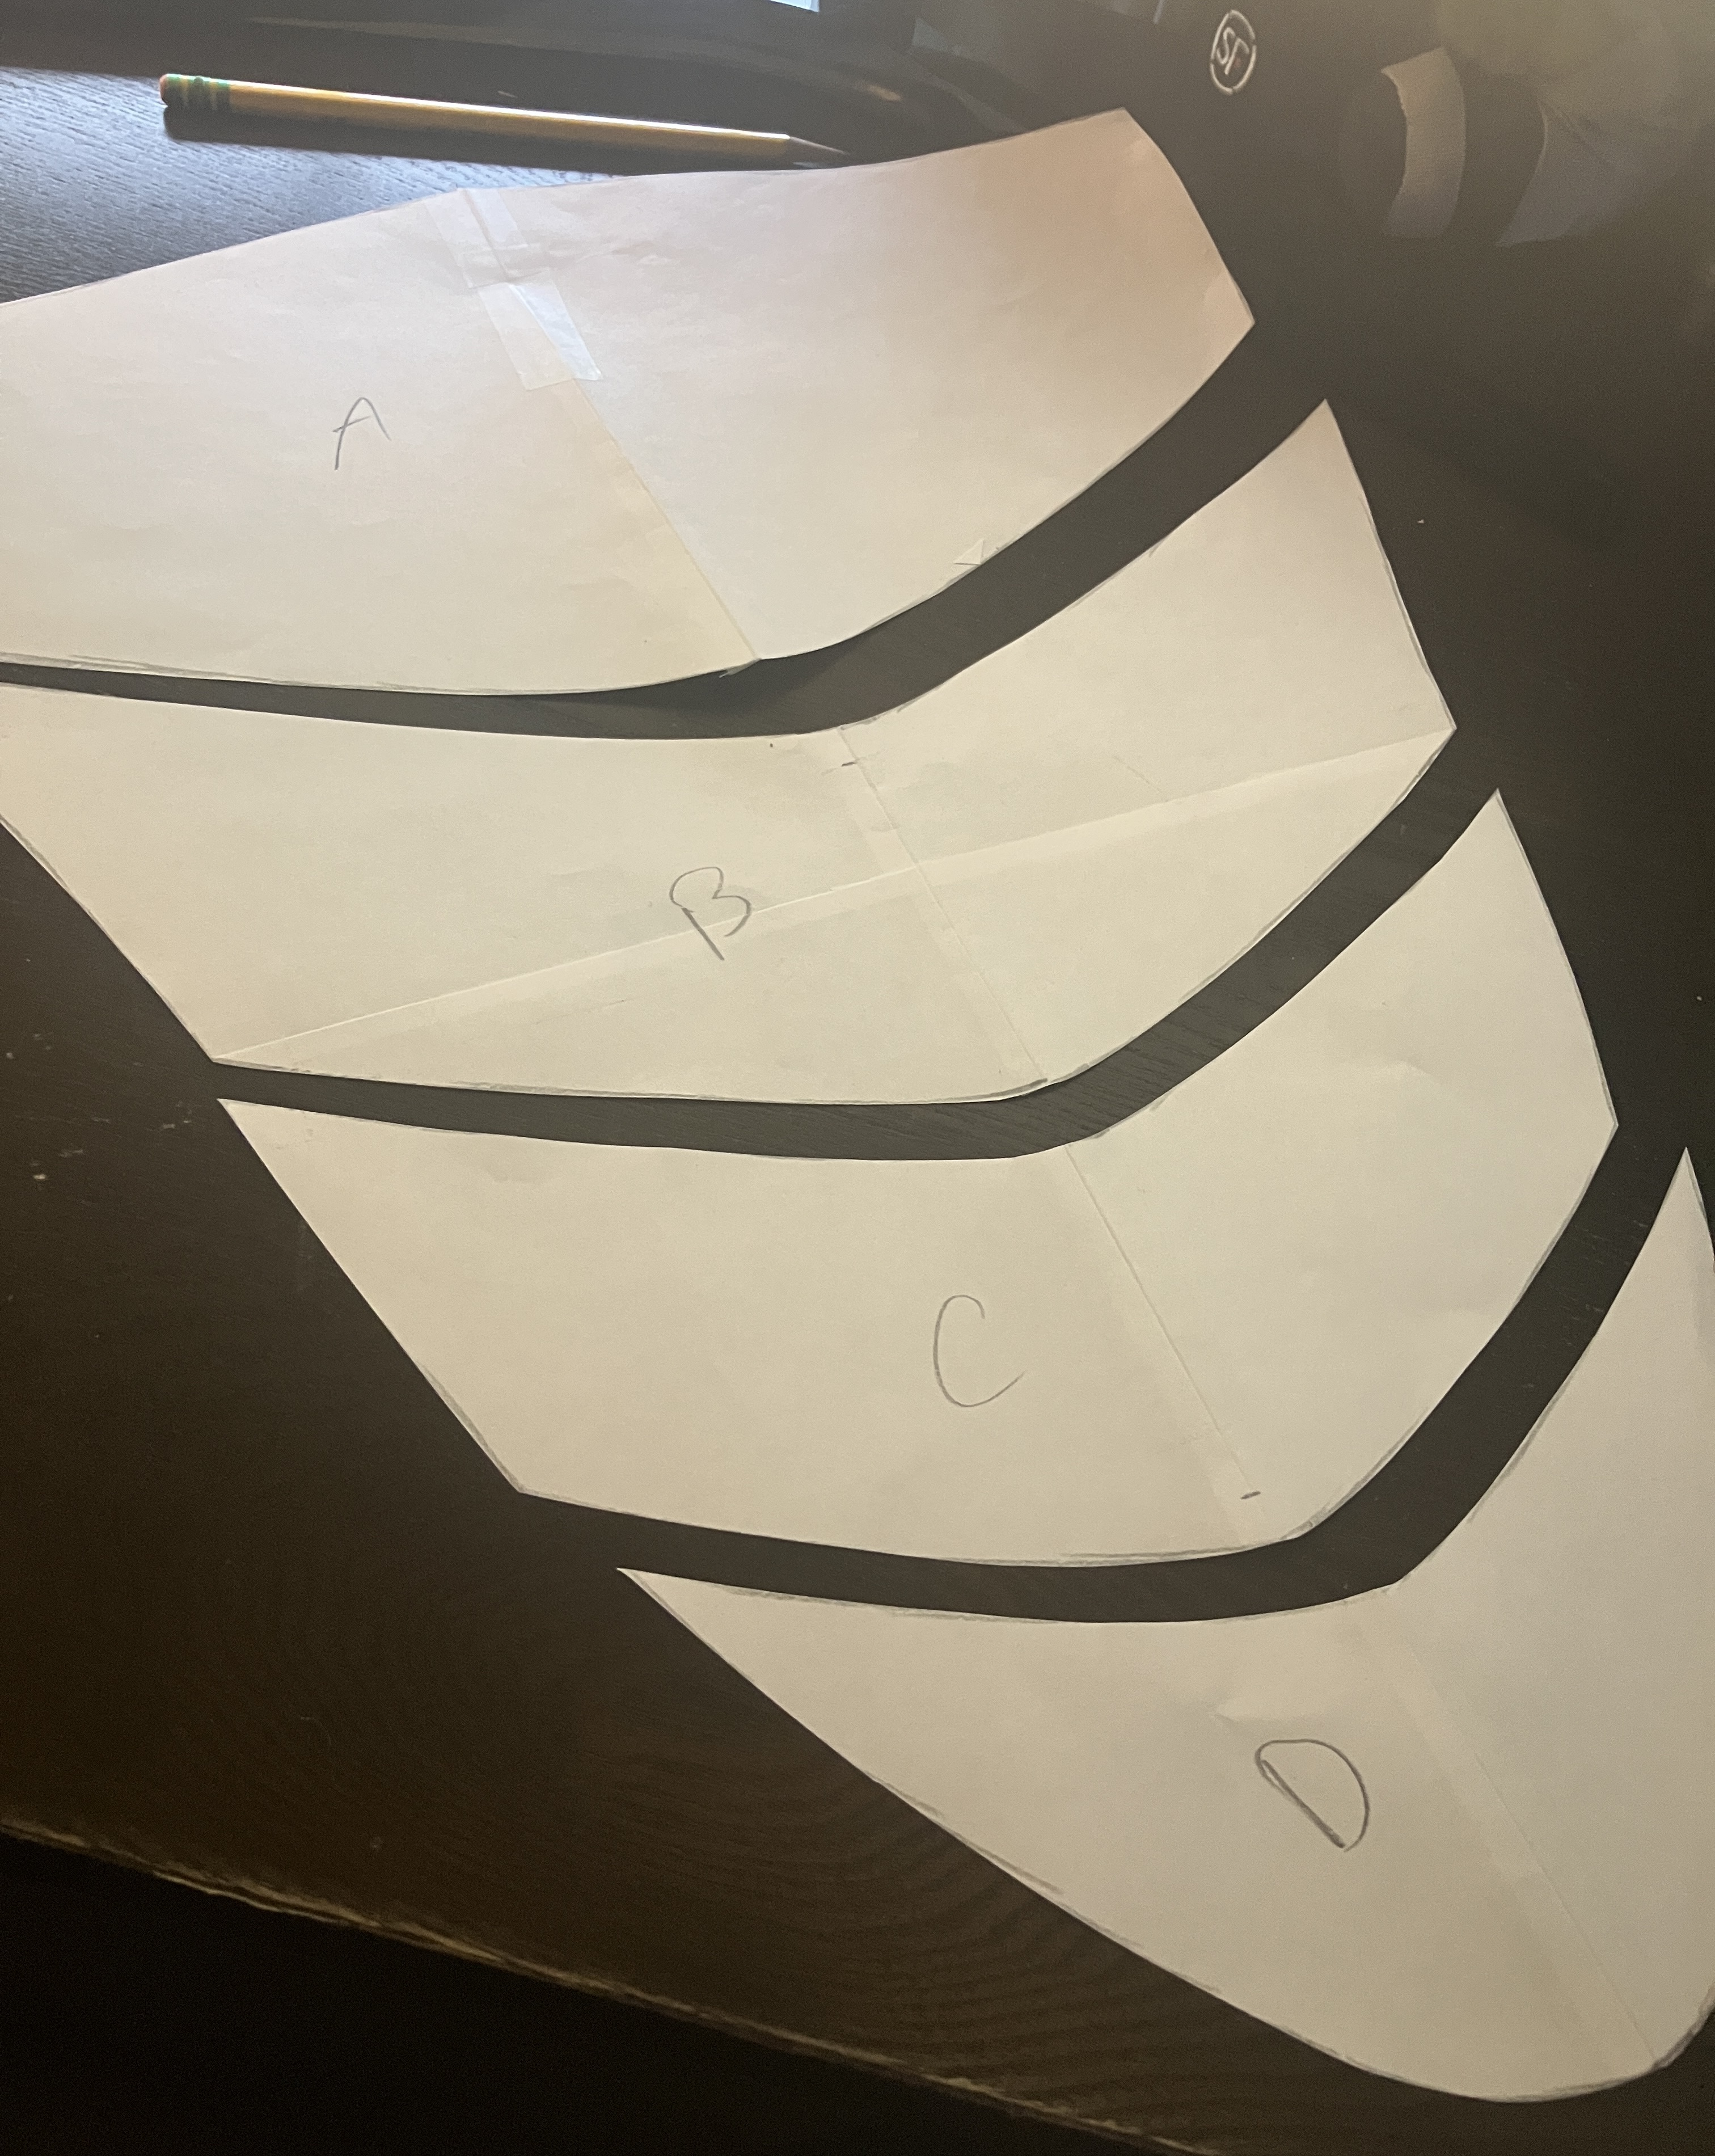
Each of my suits of armour begins with making individual paper patterns for armour segment. For this suit of armour, I challenged myself to create each of my patterns fully from scratch (rather than modify someone else's existing pattern), relying on knowledge I'd built up from my past projects. This image shows the pattern for the tassets (hip armour), and below shows part of the pattern for the bracers (wrist armour). The design process typically begins with an online search for inspiration from fantasy artwork, where I can pick out armour features that I feel are right for my project, whether that be shape, colour, texture, etc. My main goal in pattern-making is to create the shape and layers I'm envisioning, leaving colour and texture elements for later stages of the build.
Cutting Leather
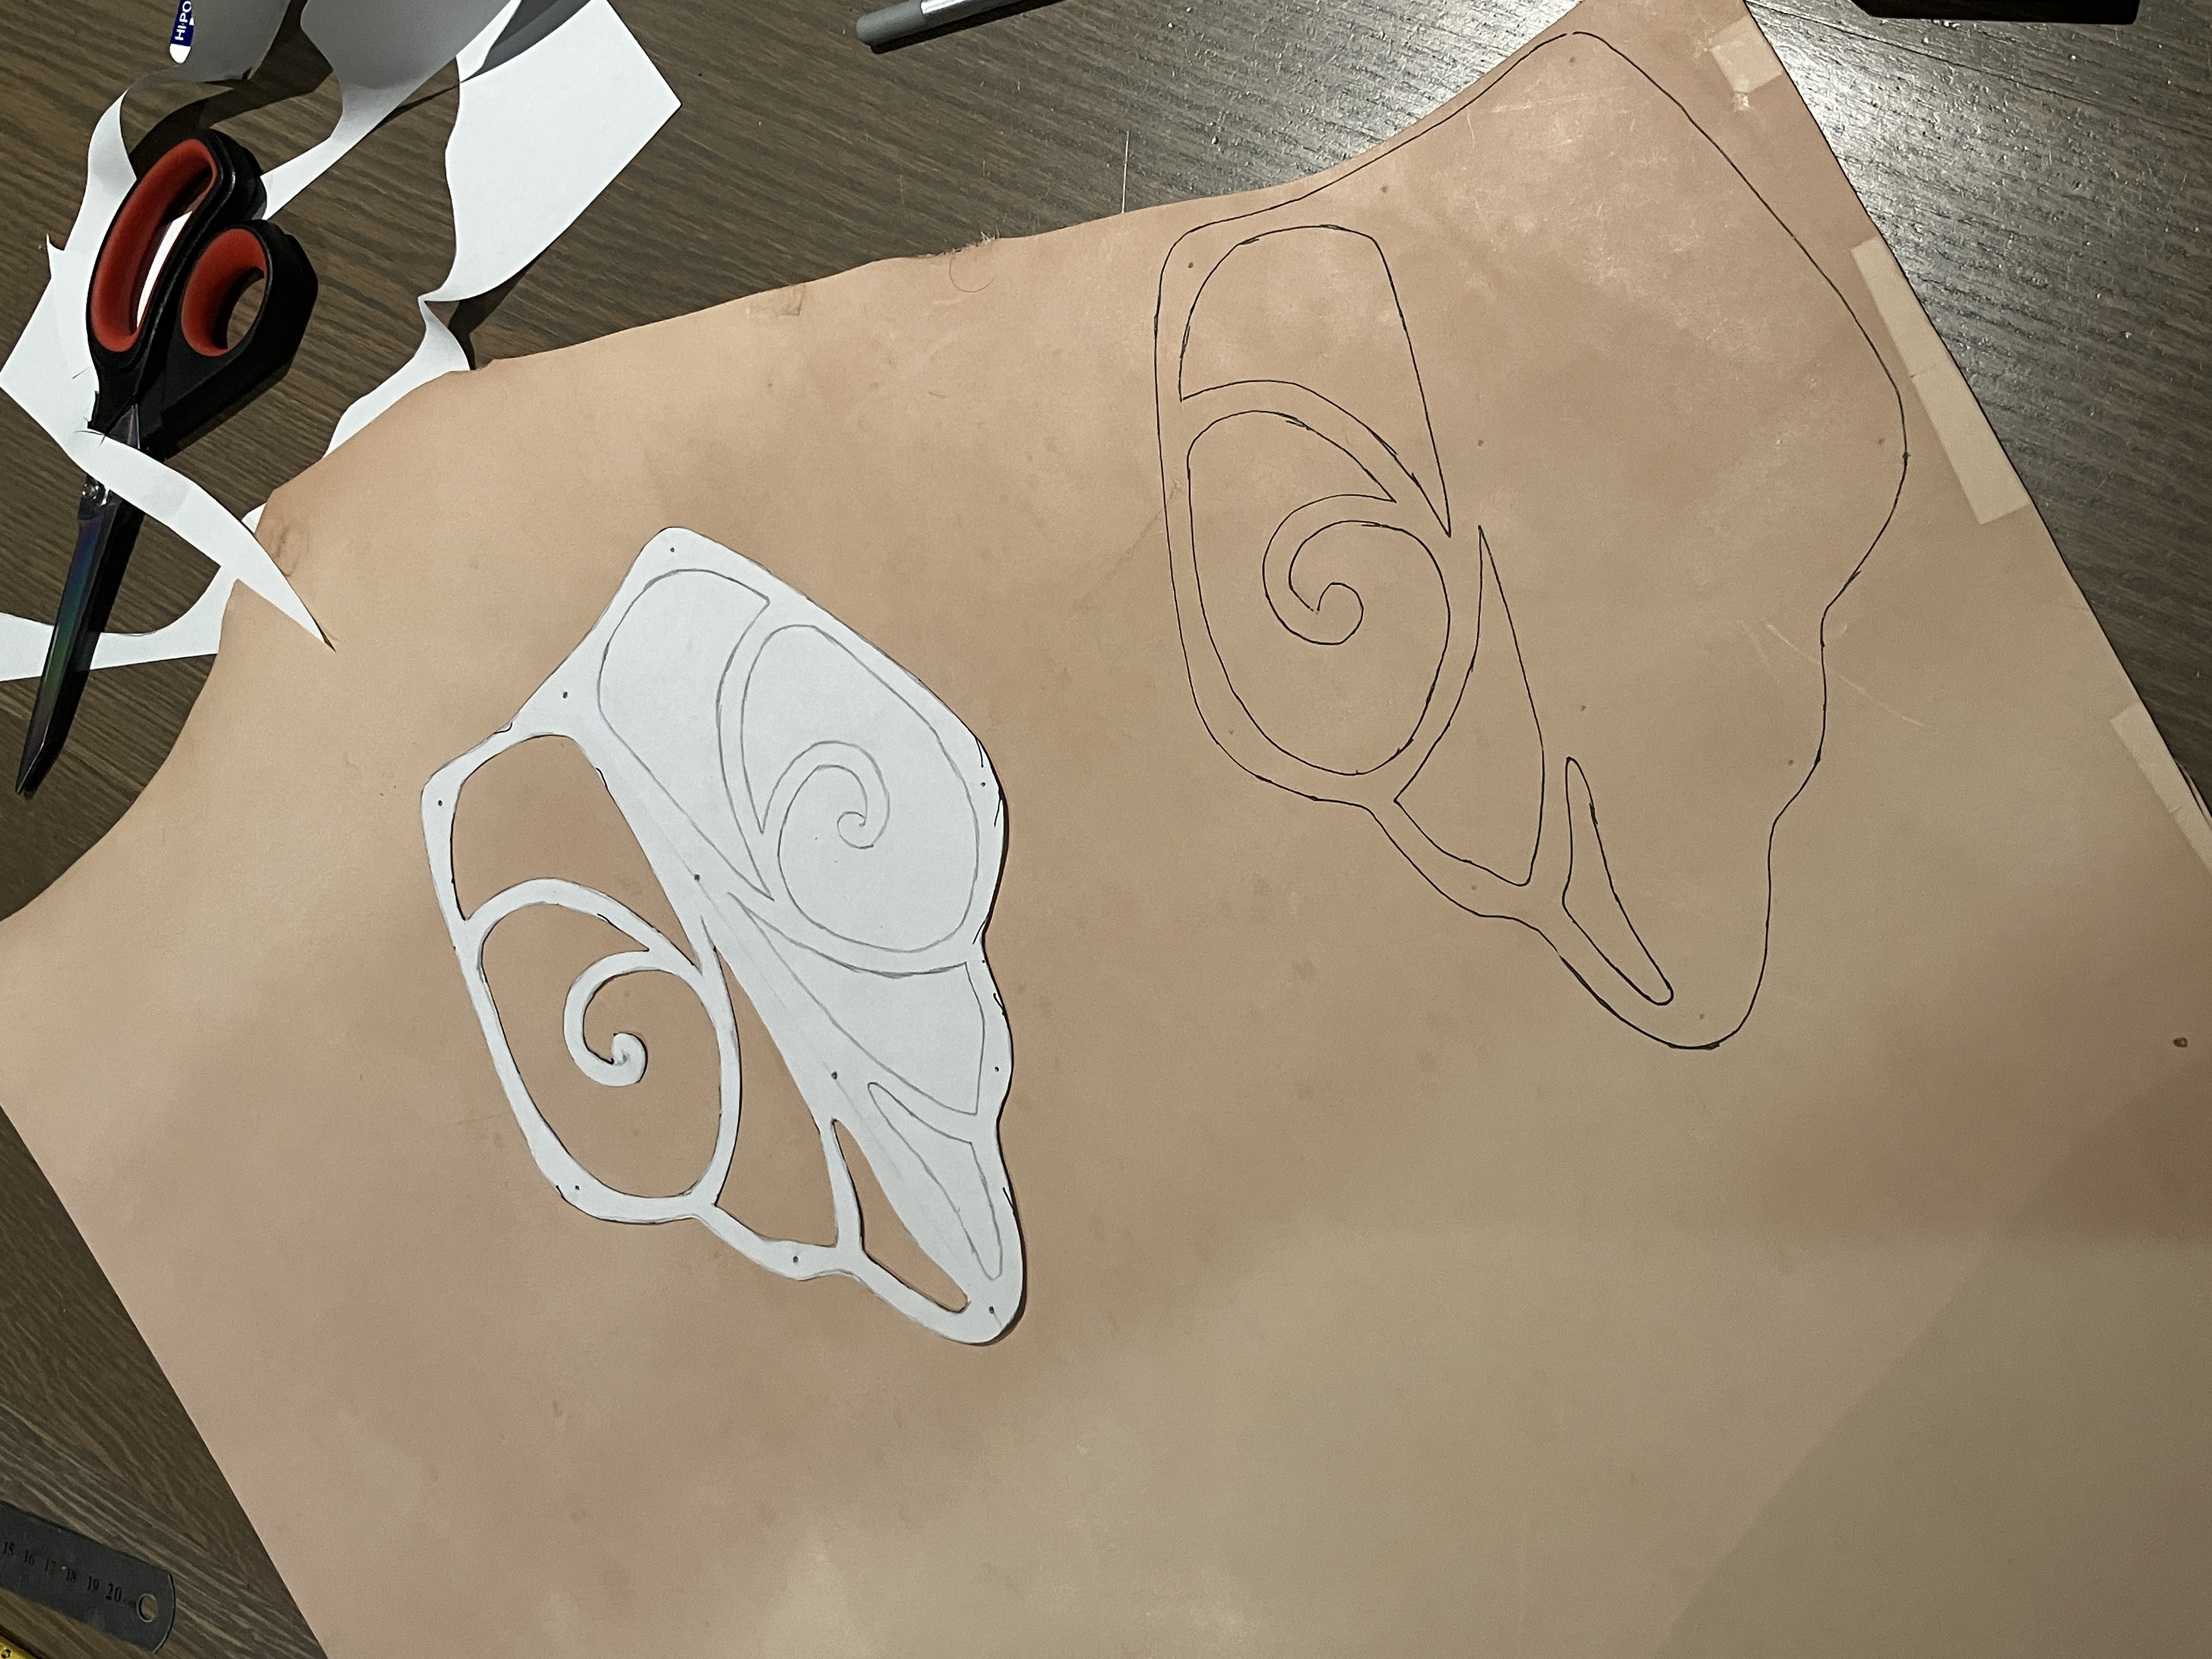
Once the pattern is complete, I trace the paper version onto a leather hide, as seen in this image. I then cut the leather with either shears or a utility blade, depending on the project. This produces a number of leather pieces that I can tool and stamp in preparation for the colouring and assembly processes.
Texture and Detail
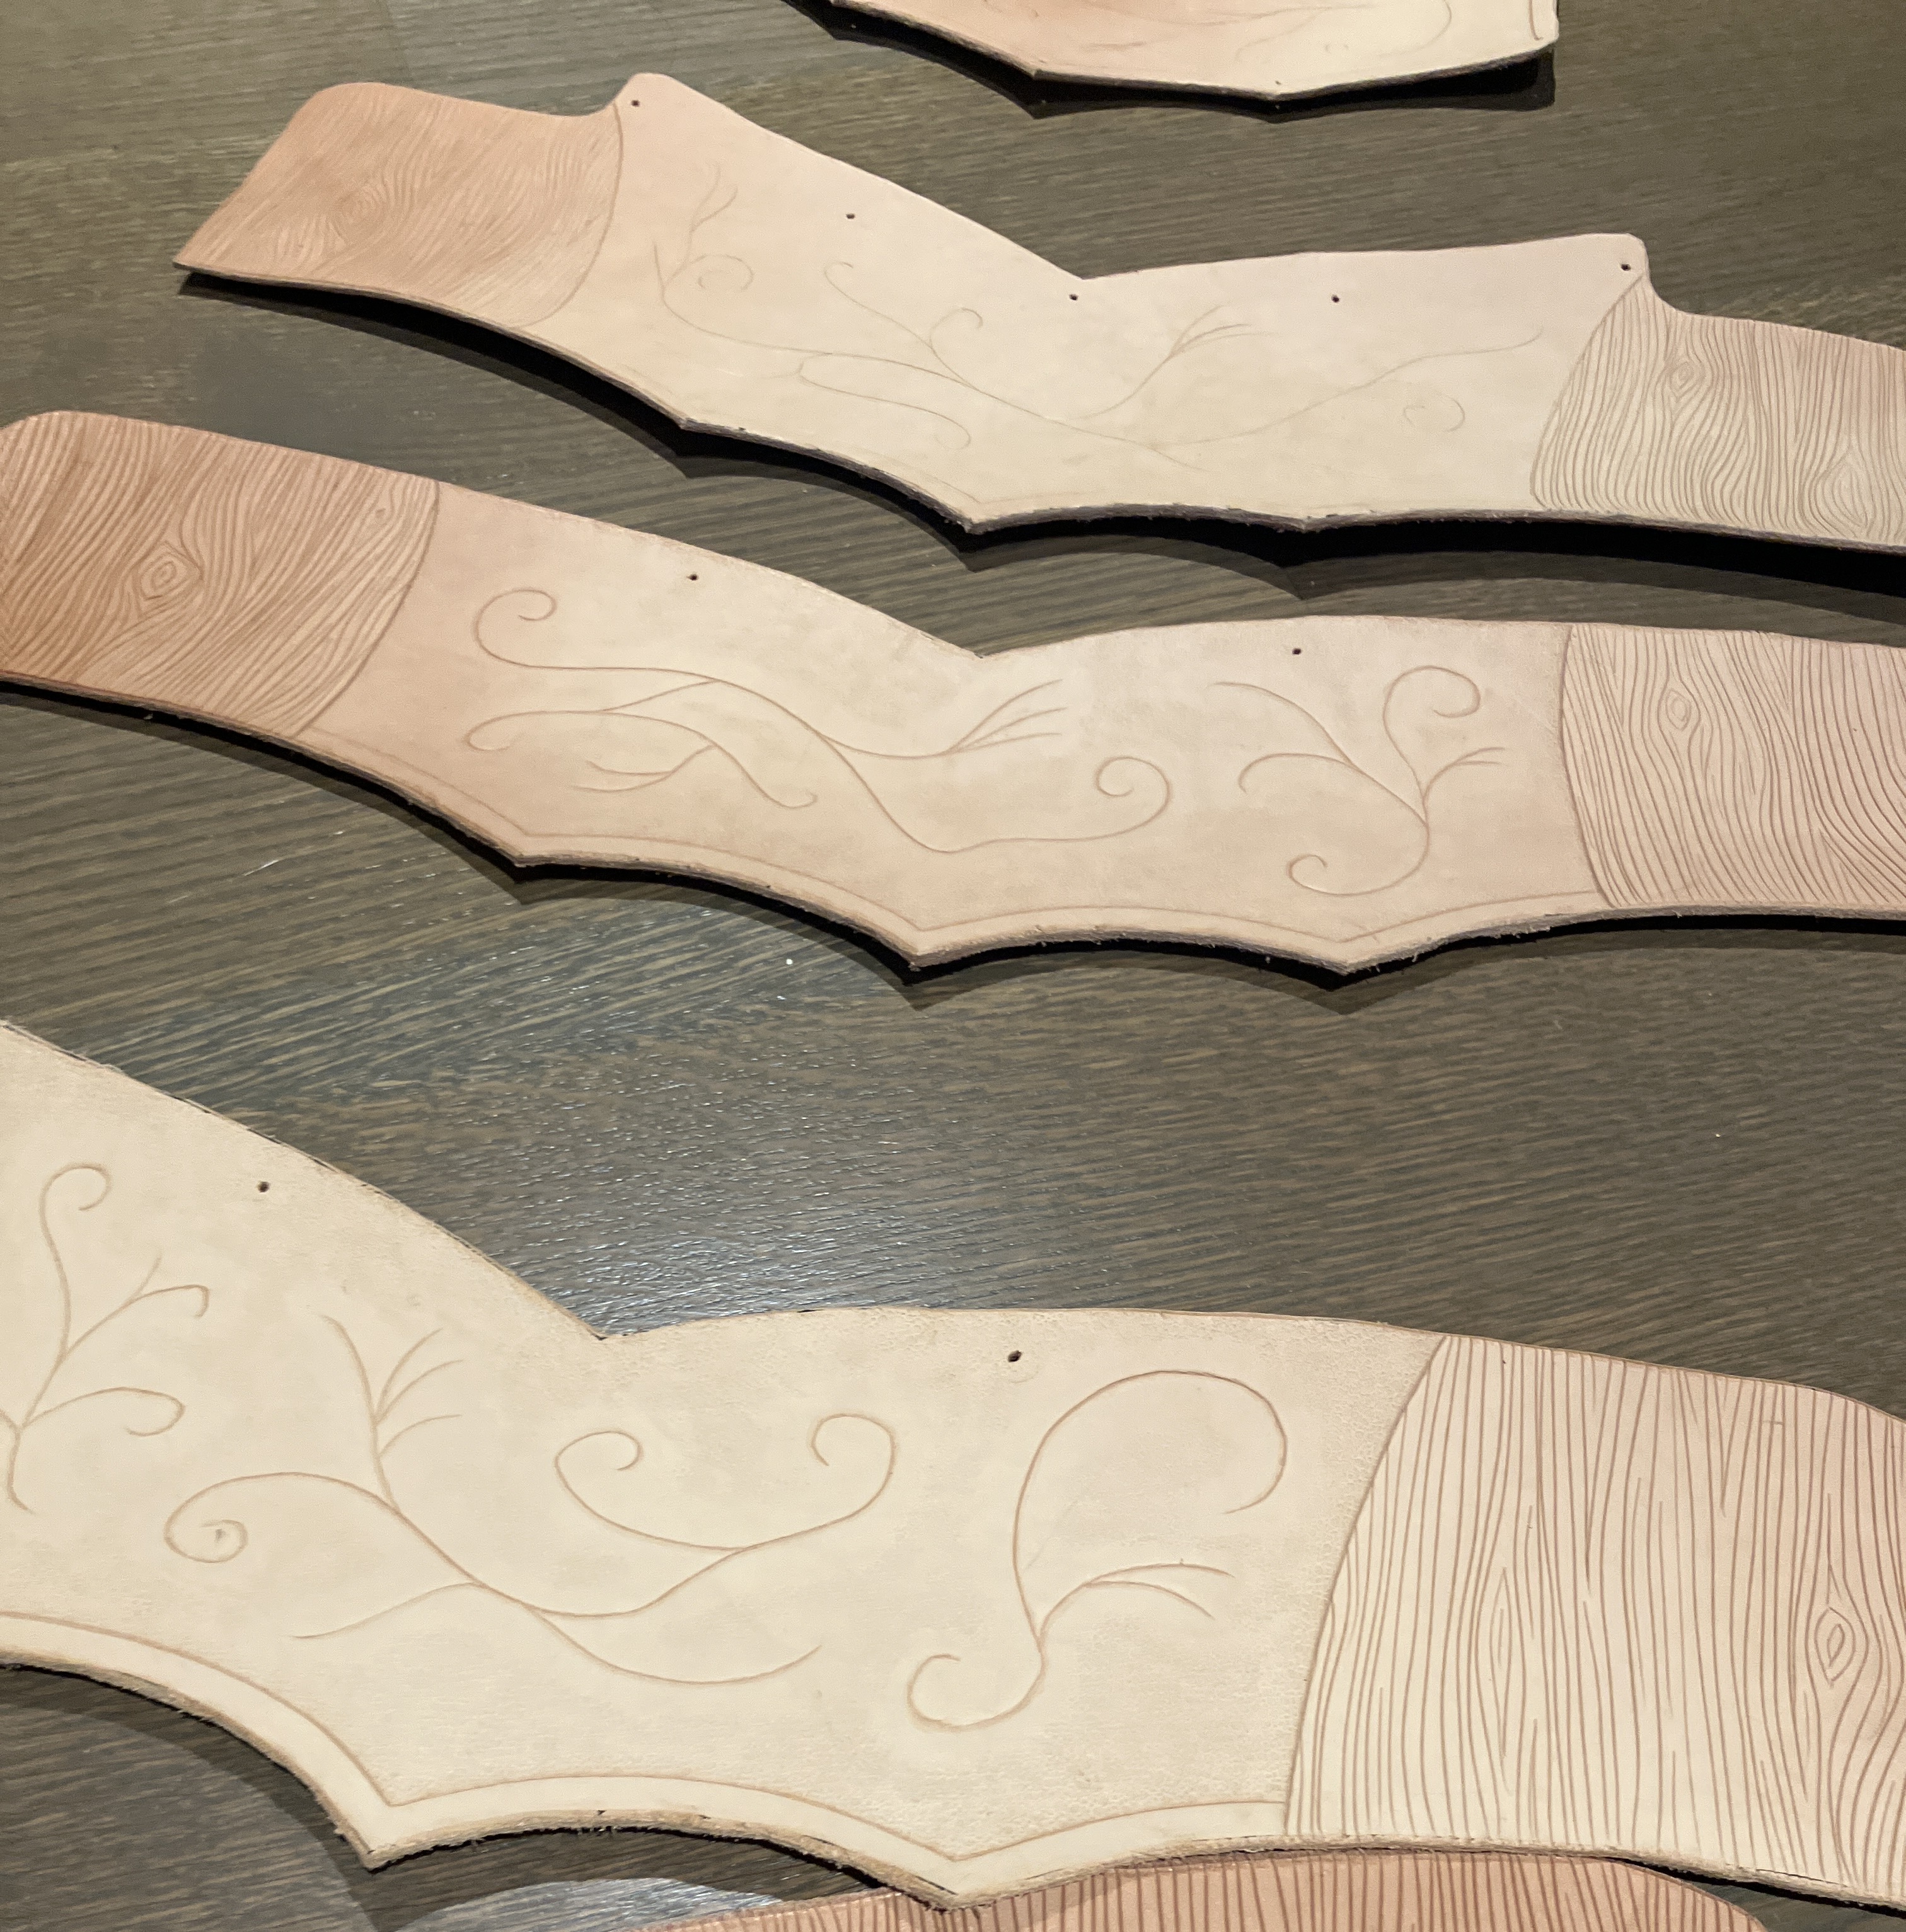
To detail the armour, I use a swivel knife for carving and an assortment of stamps to add texture to the leather. Inspired by a forest theme, this project experiments with filigree-like vine carvings and wood bark textures. This image shows the individual components of the breastplate, with holes for how they will eventually connect to one another. To challenge myself, I improvised almost every carving in this project. Whereas in the past I would first draw out my designs on paper, for this project I mostly approached the texturing and details with only a general idea of what I wanted to achieve, and I'm extremely pleased with the end result, which I feel has a more natural, random appearance.
Dyeing and Painting
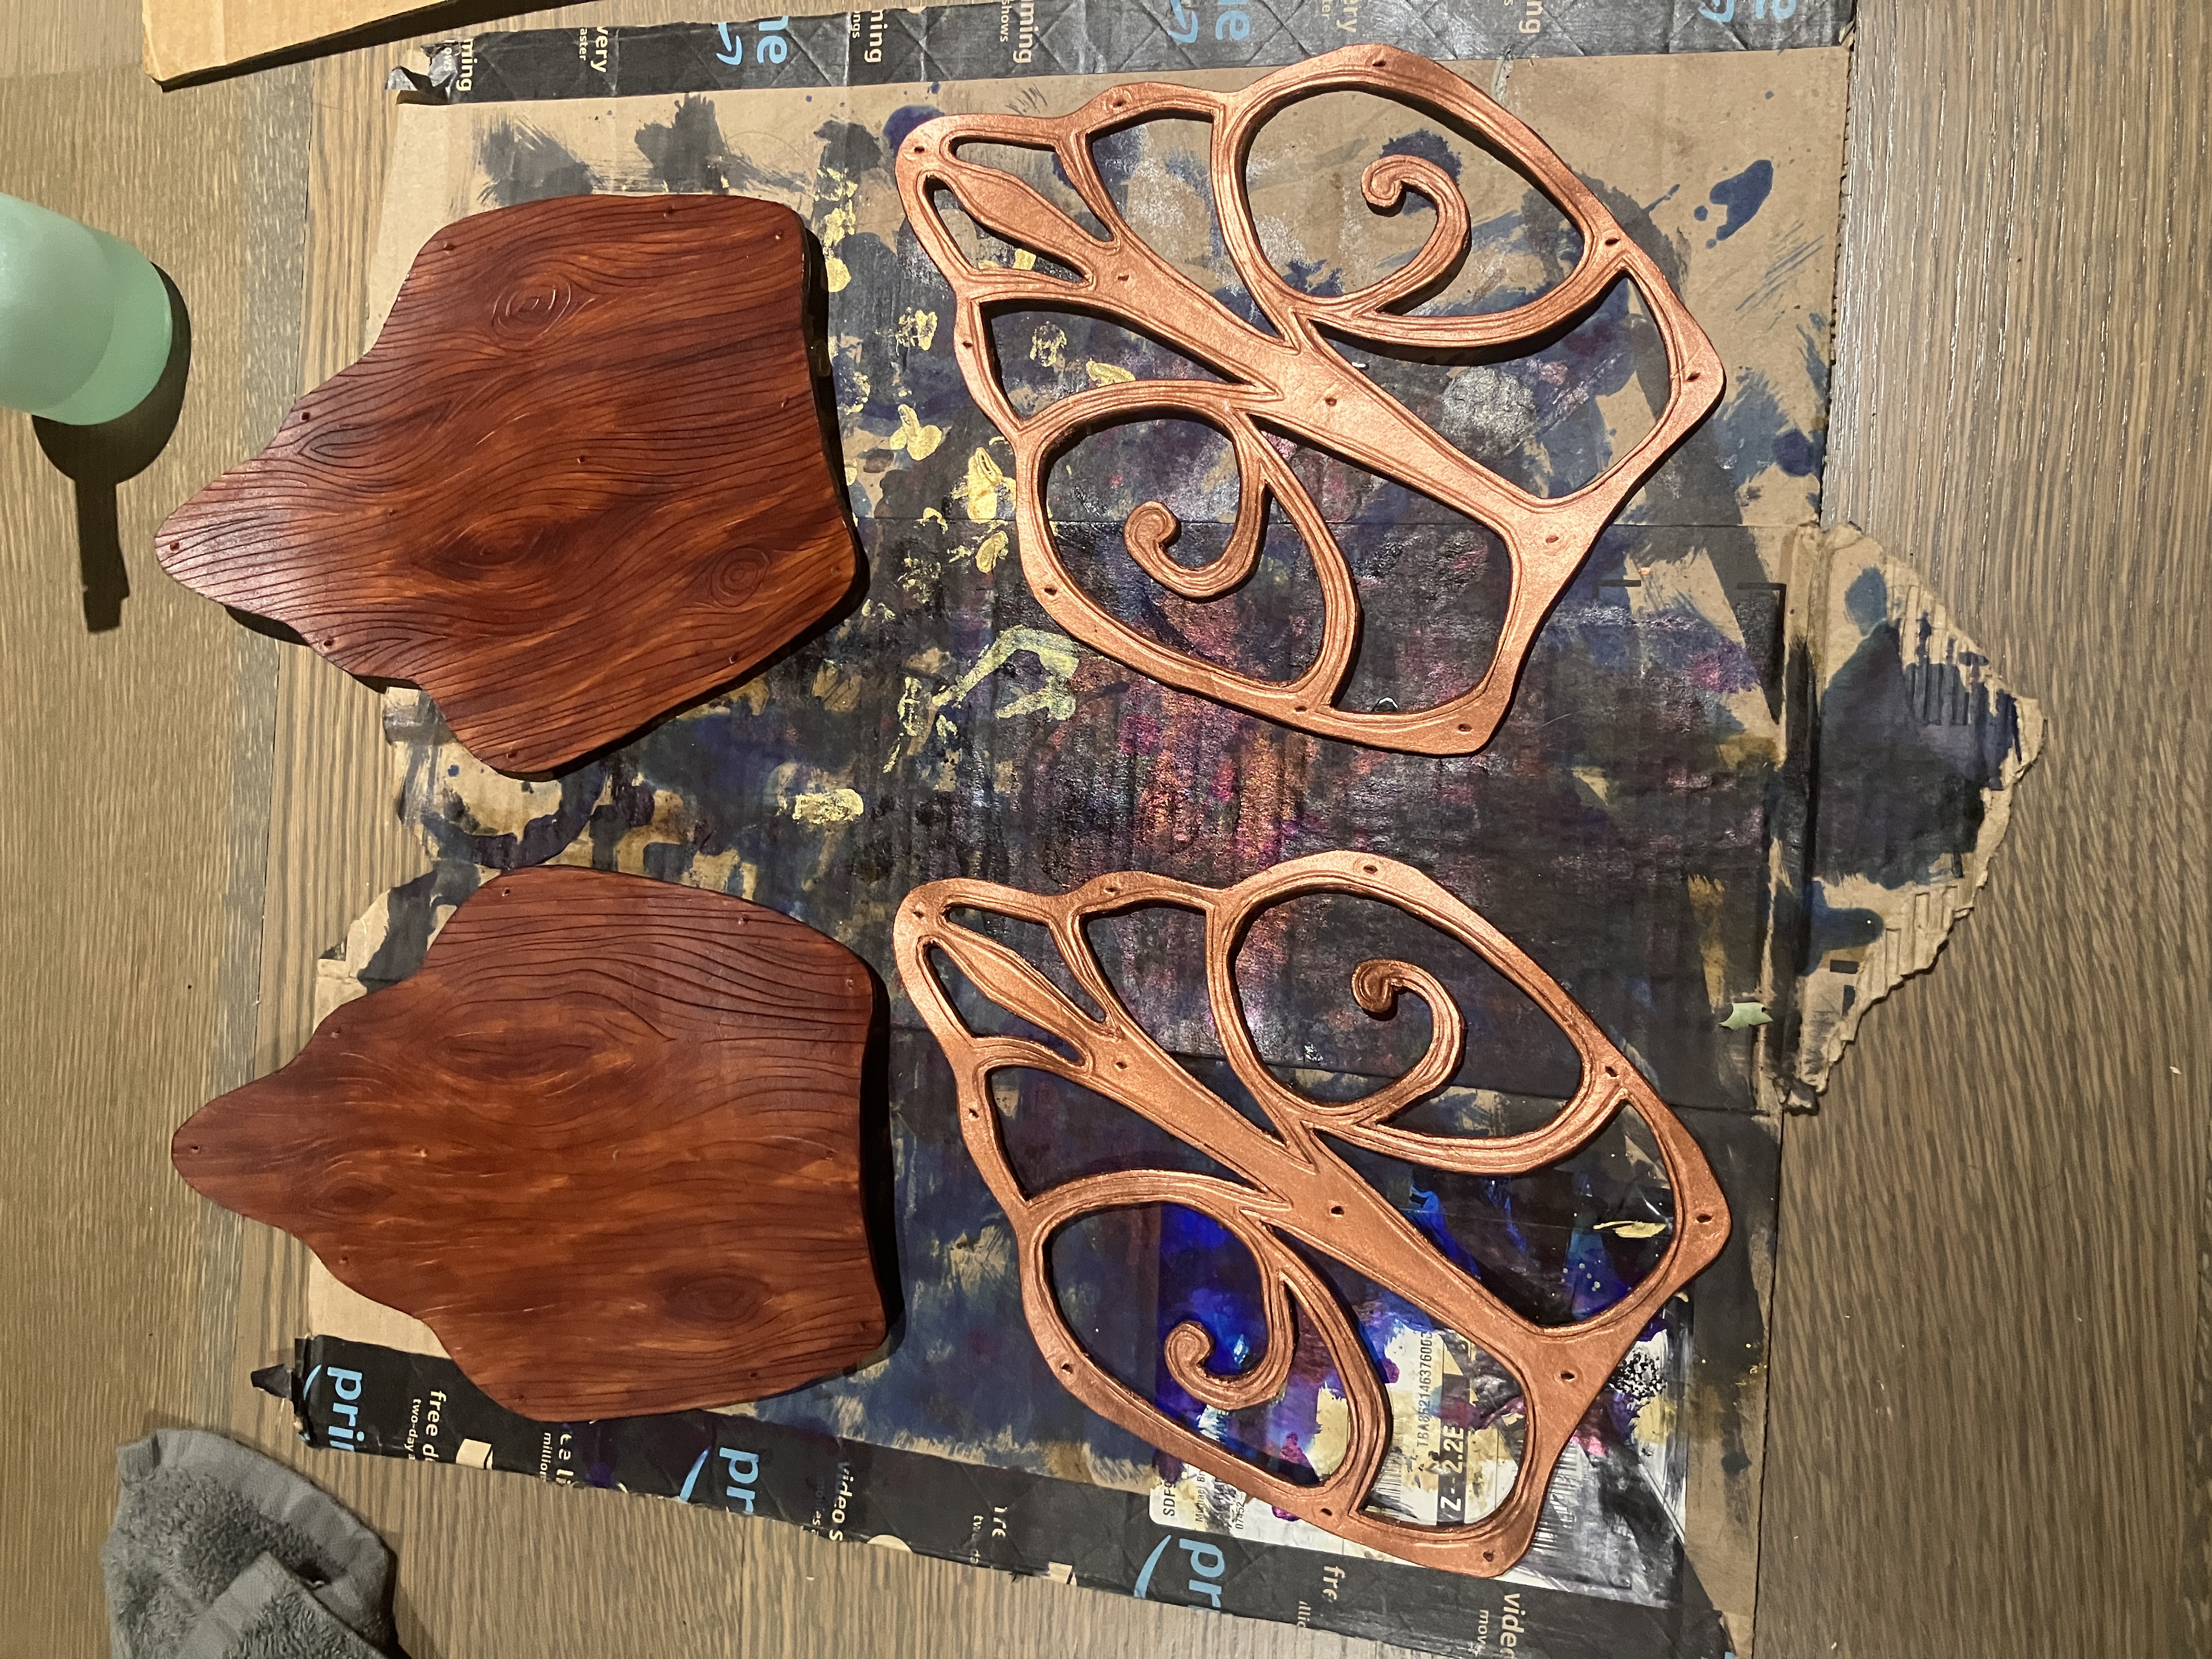
The final step before assembly is the colouring stage. Going with my forest theme, I chose a palette of woodland inspired colours including greens, browns, and copper. This image shows the colouring for the bracers: a bottom piece is carved and dyed brown to look like wood, then a more ornate top segment is first dyed brown, then airbrushed copper to give an elegant, metallic impression.
Electronics
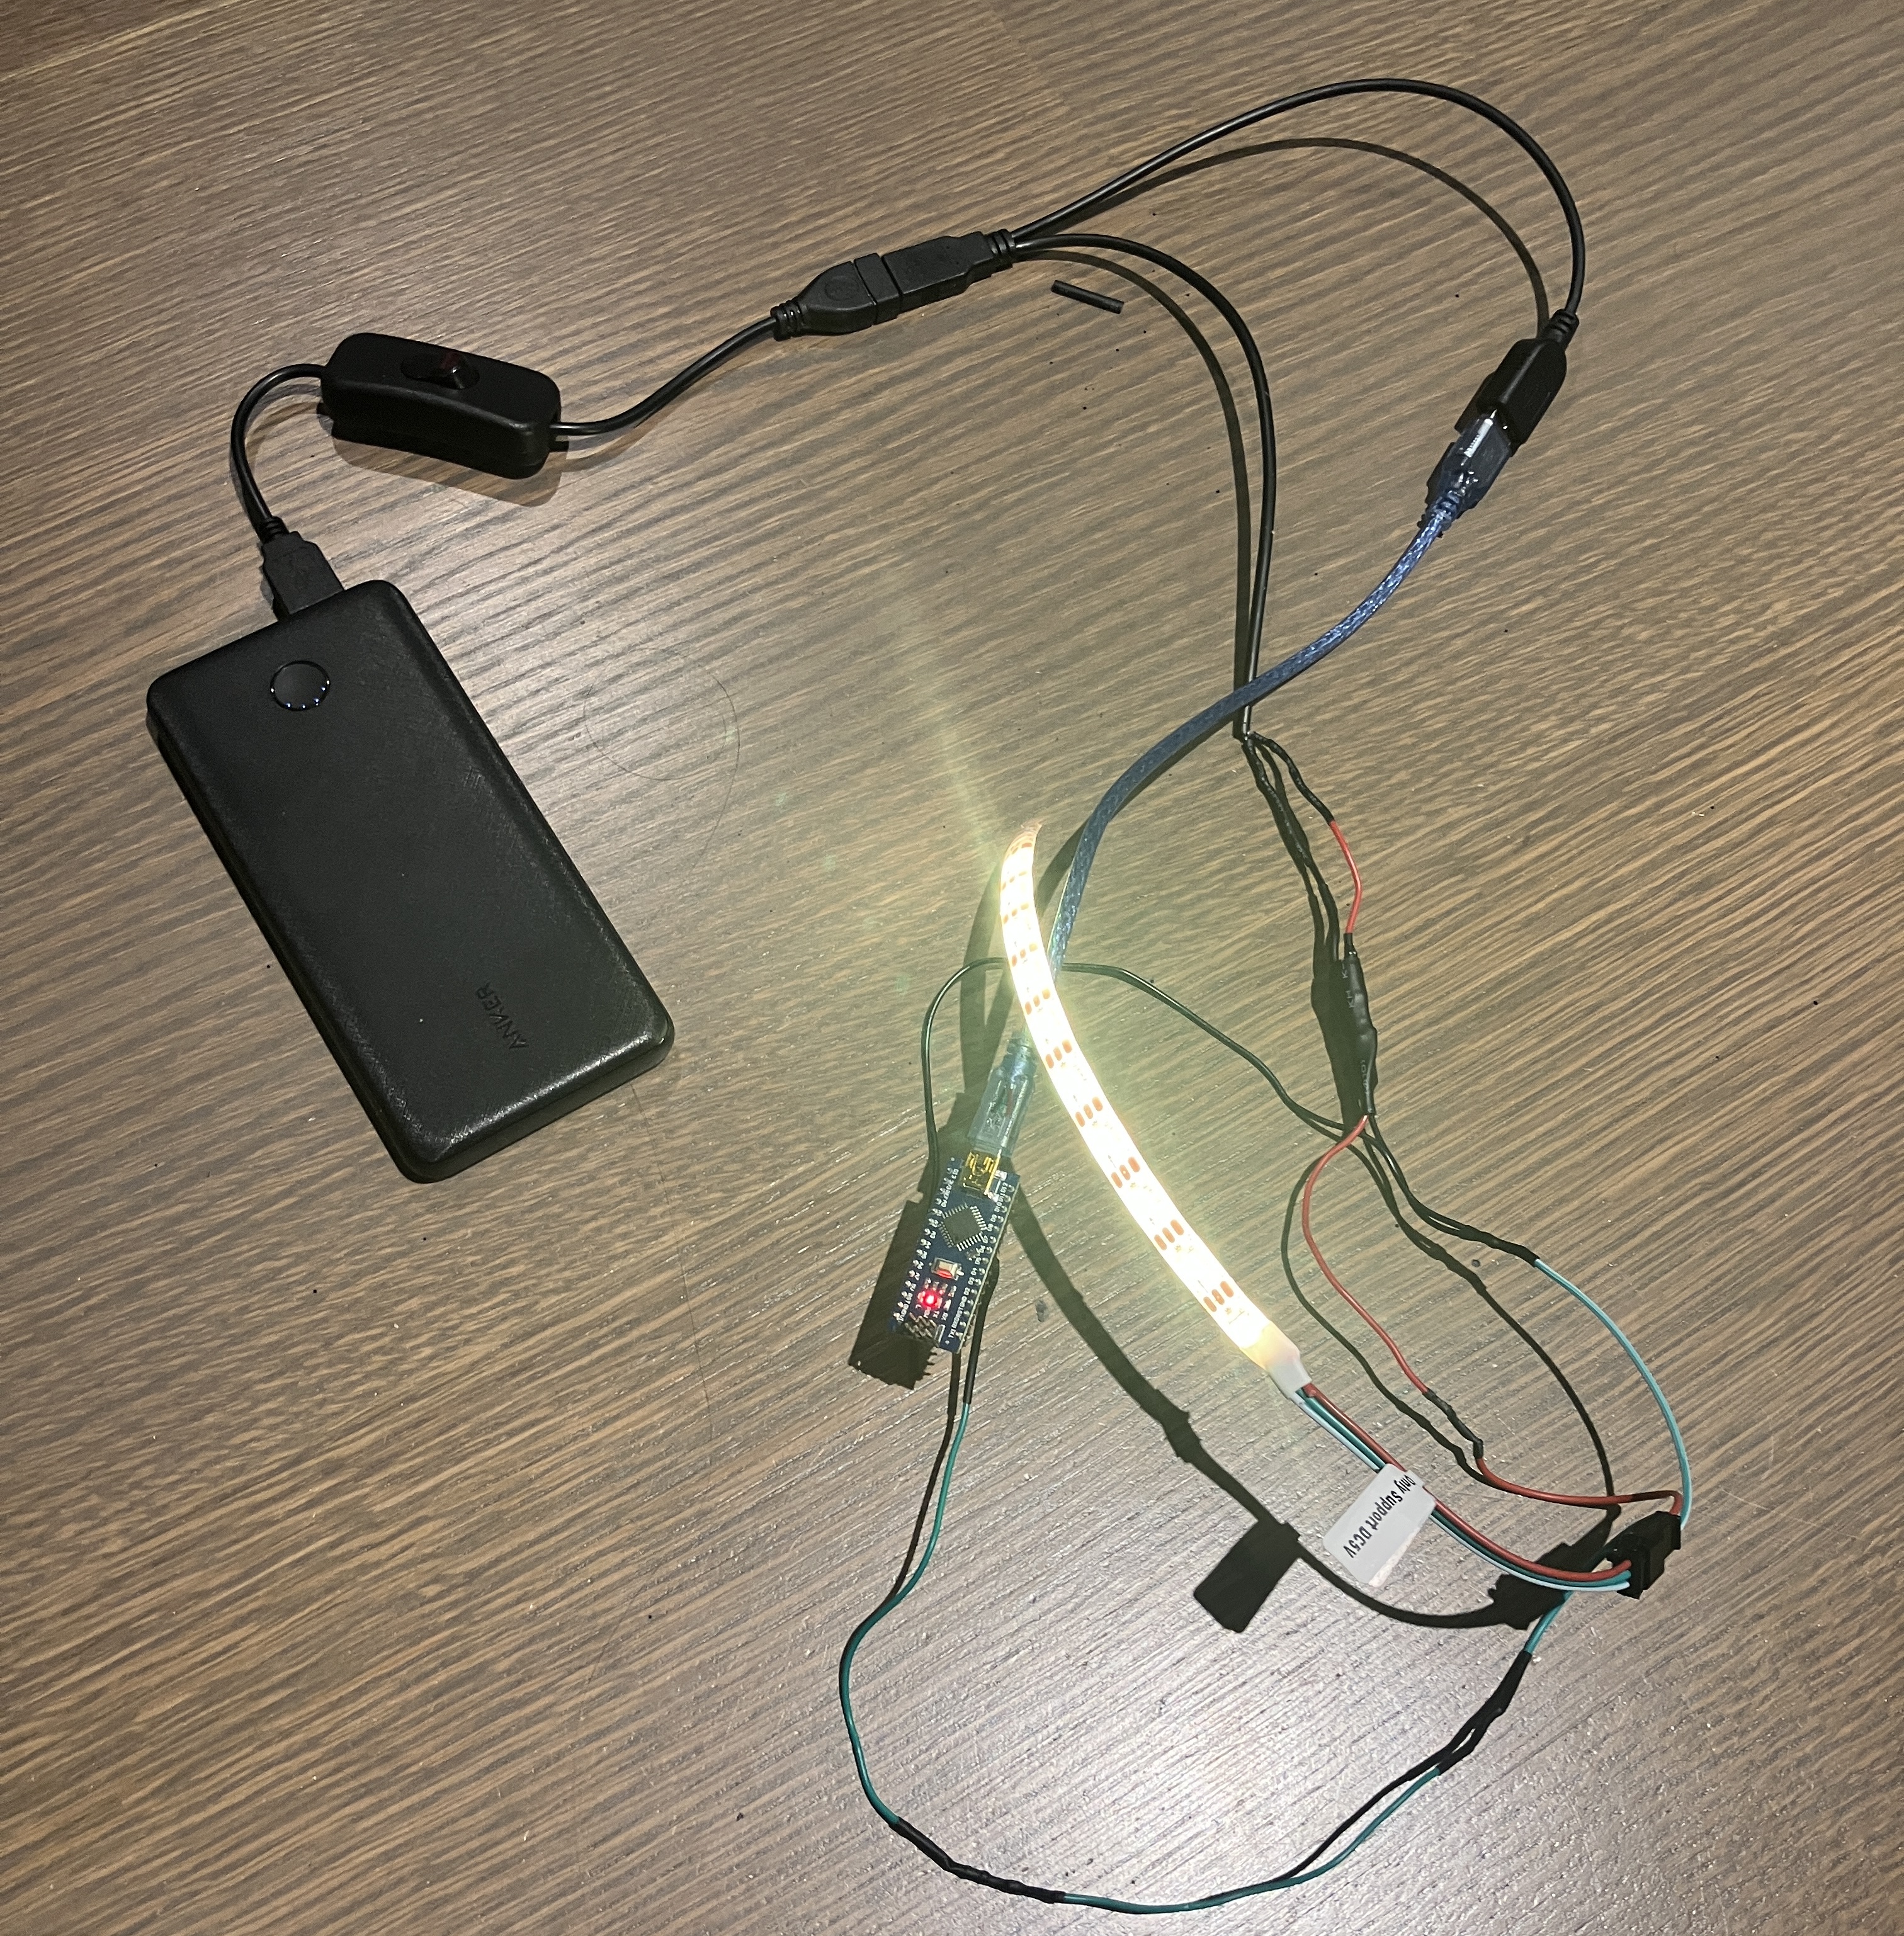
My last goal for this project was to integrate electronics into the armour, something I had never attempted before. I chose to accomplish this using a neopixel strip controlled by an Arduino Nano and powered by an external power bank with an on/off switch, all soldered together to maintain connection. This gives me full programmable control over the lighting colour, though I usually leave it as a warm white, shown below. To attach these lights to the breastplate, the neopixel strip is sandwiched between two silicone rubber sheets, both bonded to the leather using sil-poxy.
Final Result
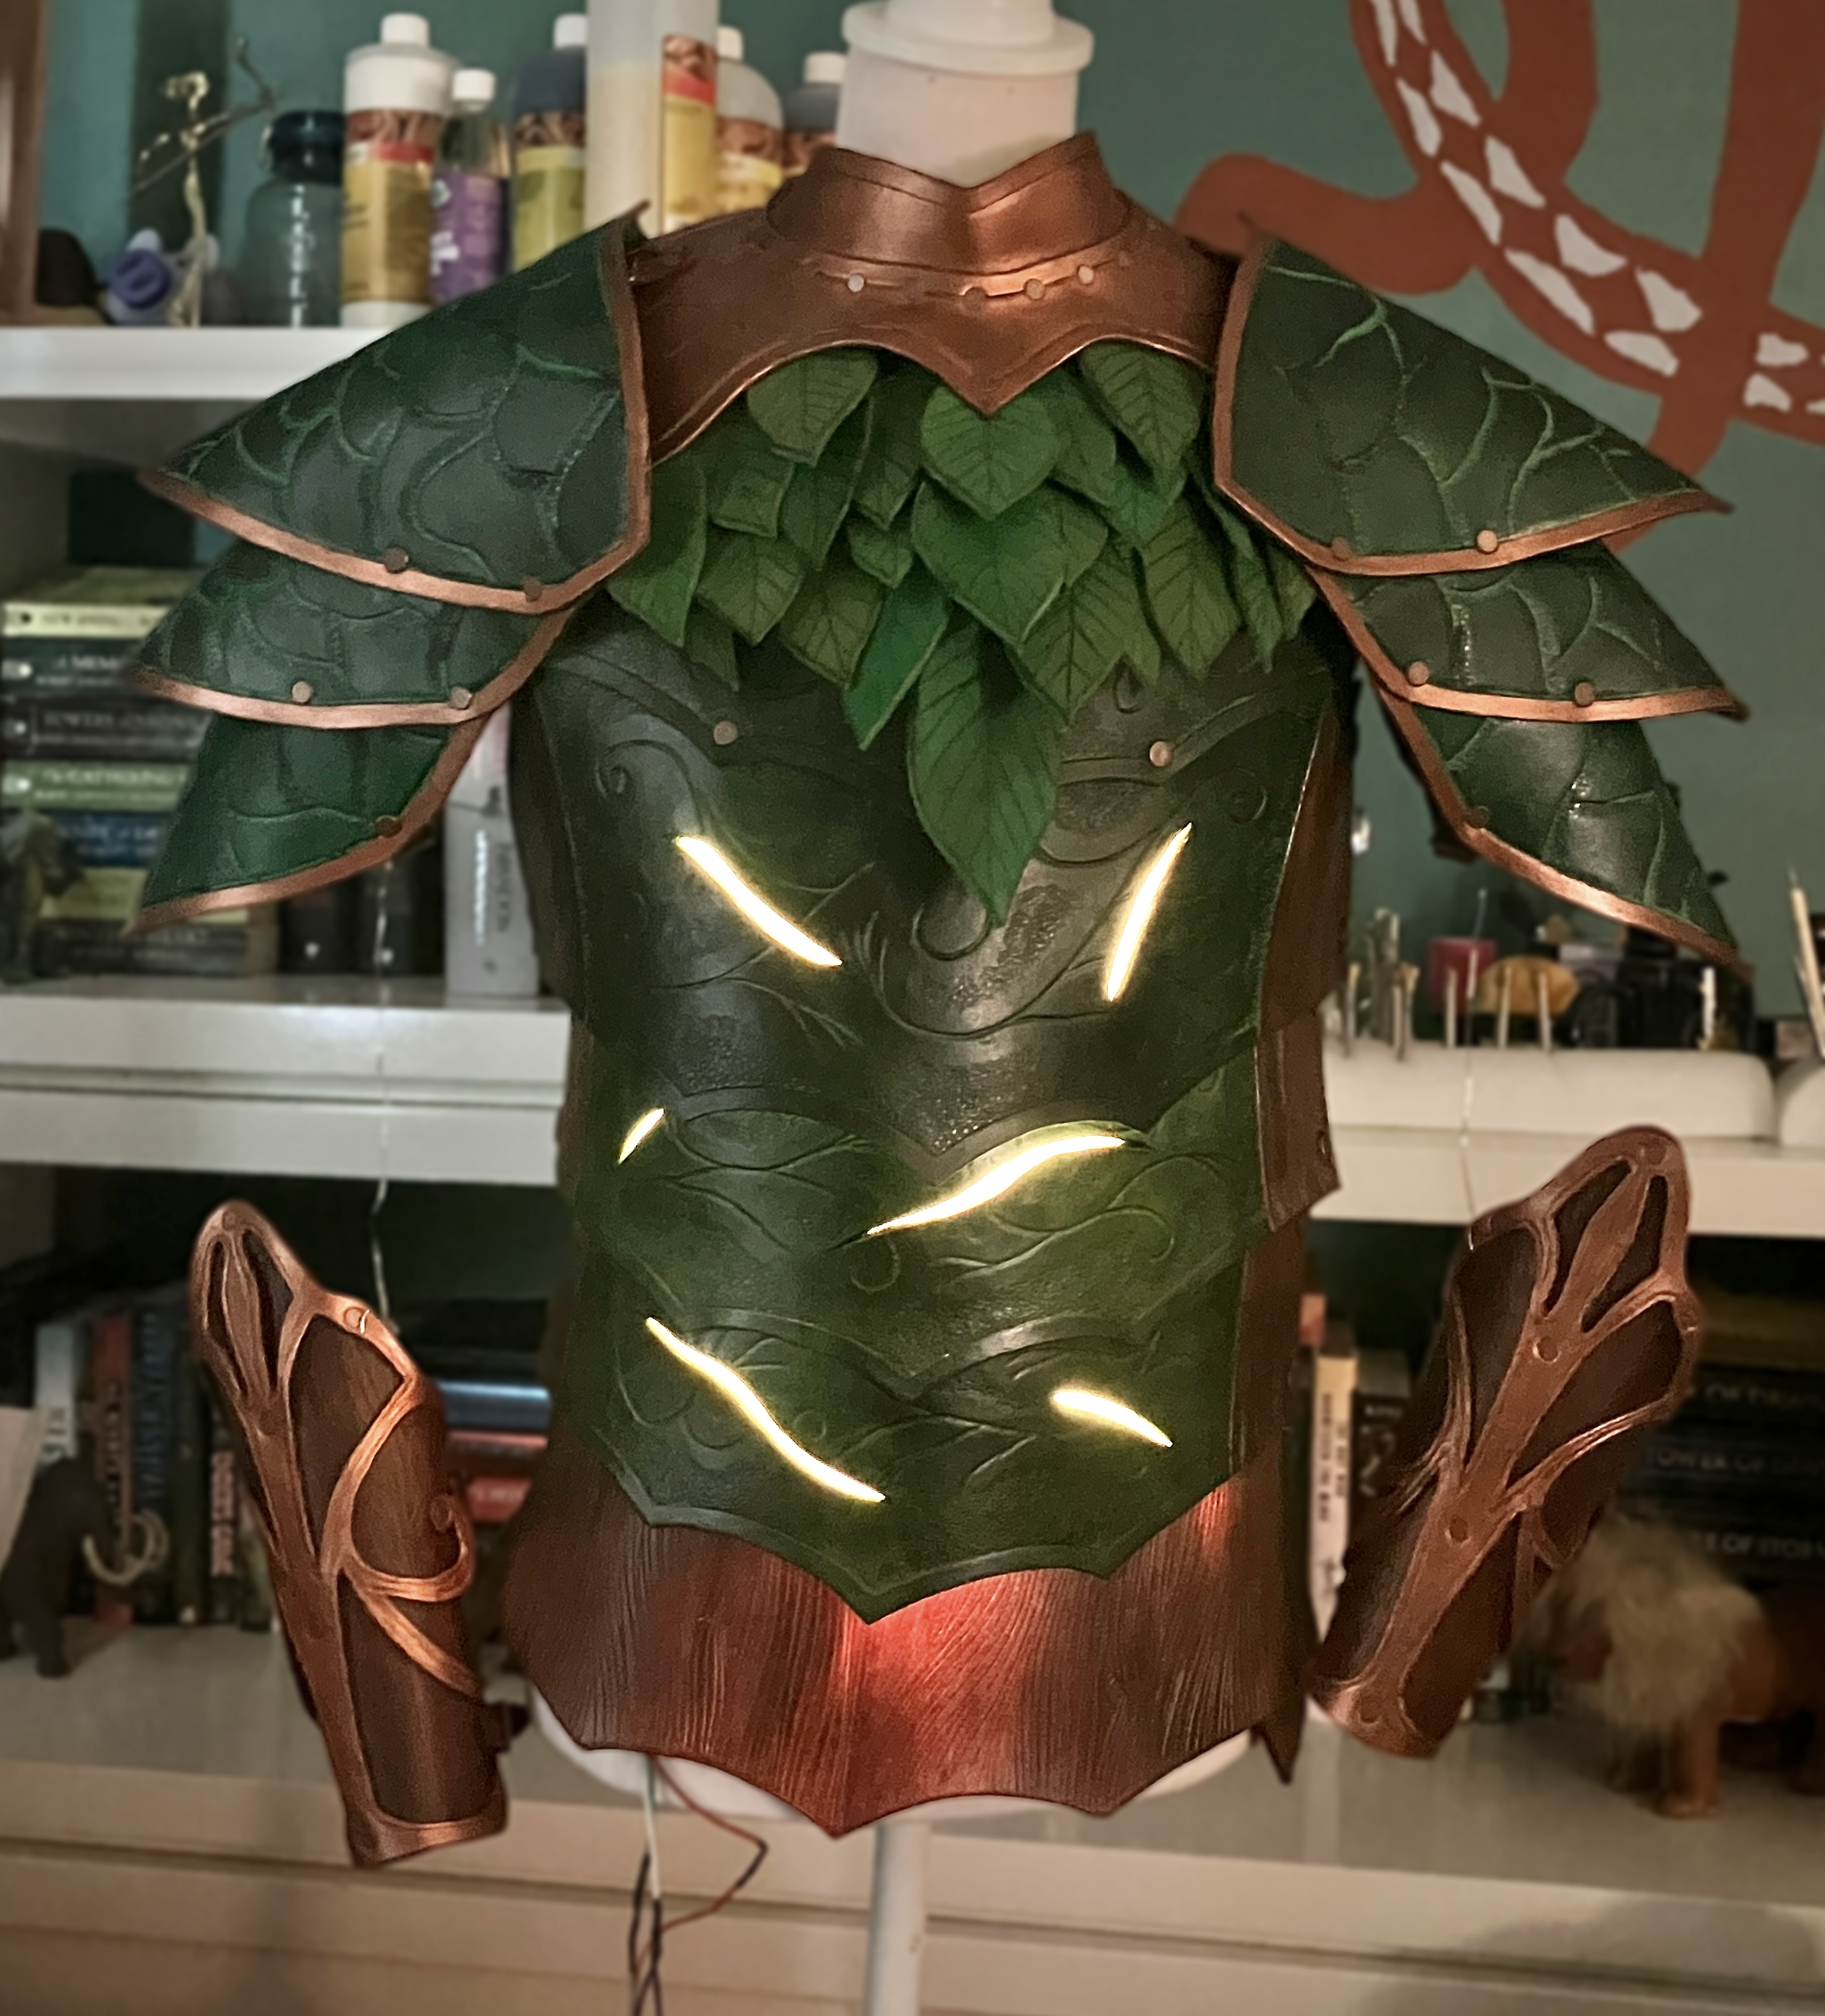
Within one summer, I completed the upper body of this forest inspired suit of armour, and am extremely pleased with the end result. The armour has a cohesive woodland theme with a variety of colours, and lights up! Each piece showcases a unique design while still feeling unified as part of a whole. I feel that this leather project is my most artistic, with every element—from design to final build—fully conceived and constructed according to an initial vision and theme. Throughout the process, I challenged myself numerous times, vastly improving my craftsmanship by the end of the project.